Second Life Build Tutorial: Object Tab
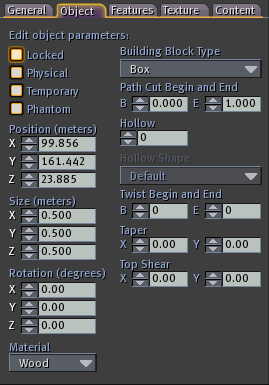
- Locked = Prevent the object from being (accidentally) moved or deleted. Useful when building a complicated object of many parts, so that you can freeze parts you think are already good.
- Physical = Subject it to gravity, collision, etc. Second Life world uses a physics simulation software called Havok Physics. In a physic simulation, things will have mass, momentum, gravity, and subject to basic laws of physics. This checkbox is useful when you are creating objects with scripting, such as a vehicle. For building most things, leave it unchecked. As a example, if you have a object positioned above the ground, then once you check this box, the object will fall onto the ground.
- Temporary = The object will automatically cease to exist after a while. (about 1 to 1.5 minutes) This is useful for example when you just want to show your friends a building technique quickly.
- Phantom = Makes the object shown only as appearance, but things can go thru it. This is useful for example for waterfalls, or special effect like teleport booths.
Position, Size, Rotation
The Position, Size, Rotation are self-explanatory.
For Position, you need to understand that each land area (called a “sim” (simulator)), is a 256 by 256 square, and it uses a coordinate system. The lower left corner has coordinate “(0,0)”. The upper right has coordinate “(256,256)”. You can see your avatar's position at the top of your window. (The last number in the coordinate is your altitude)
When you enter numbers in these input boxes, press the Tab or Enter key will activate your change.
Be very careful when you enter numbers in the Position input box. Because, if you mis-typed a coordinate, the object will appear at the new location and out of sight, and all the numbers in the Edit window will be gone because the object is too far away. (it is automatically de-selected when out of range) If you don't remember what typos you made, it is very difficult to locate the object again.
Finding Lost Object
If you are in a sand box, the object will be returned to you in your Inventory's Lost And Found folder after a time period. (The Auto-return period is set by the land owner). But if you are building in a area where you have permission, the object won't automatically return, you'll have a good time searching for it. (imagine losing your diamond ring in a island)
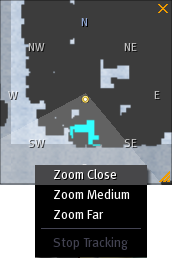
If you did make such a mistake, here's some techniques to help locating the object. First, write down your av's current position, and the axis which you mis-typed. Now, show the mini-map, right click on it and choose zoom-close. Your objects would shown in cyan. Now, create a box and sit on it, then move the box by the position axis. This way, you'll be constrained to move in only one direction, the direction you mis-typed your coordinate input field. Now, just use the techniques of moving your camera with the help of the mini-map to find your diamond ring.
Material
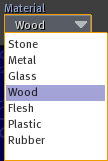
The Material Menu specifies what material the object is made of. Different material will have different properties in aspects of friction, bunchiness, hardness, mass… Objects of different materials will behave differently when thrown, pushed, run-into, etc.
If you are just building static, non-moving, non-interacting shapes, such as a house, these are not important.
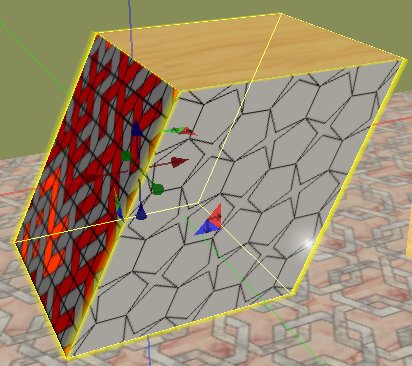
Building Block Type
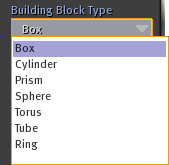
Suppose you just created a cube prim. But you decided that you want a sphere instead. Normally, you'd have to delete the cube, then create the sphere. But with the Building Block menu, all you have to do is pull it down and select Sphere, and your currently selected prim will be changed into that type.
“Path Cuting” (pie-cut)
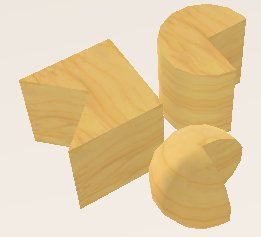
The “Path Cut Begin and End” cuts a wedge-shaped section out of your prim, like cutting a piece of cake. The B and E input boxes mean Begin and End. They should be values between 0 and 1, with B < E.
The prim needs not to be a cylinder to be path-cut. Other shaped prims will also cut similarly. The best way to see what shape you get is by trying it on a prim, by clicking the increment/decrement arrows and see how cut changes.
One of the default prim the half-cylinder prim, is actually just a predefined path-cut version of the cylinder prim. Similarly is the cone and cut-cone, sphere and half-sphere.
Hollowing a Object
A object can be hollowed out.
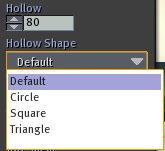
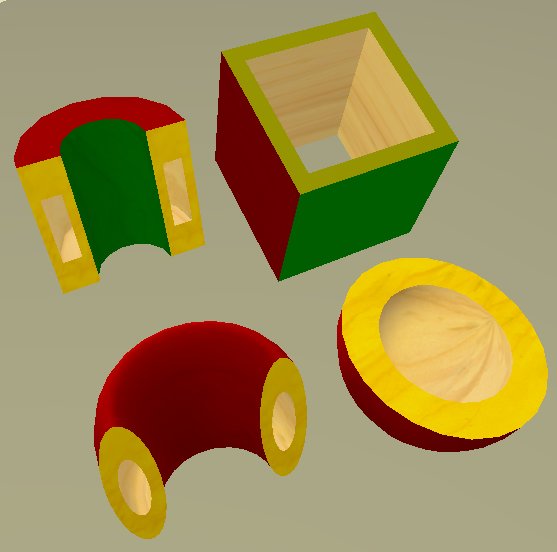
For cube, cylinder, prism prims, the hollow option punches a hole from the top. For sphere, it empties its core. For torus and tube type of prims, it makes them into tube-like things.
Twist Begin and End
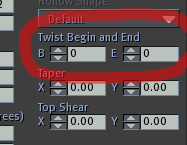
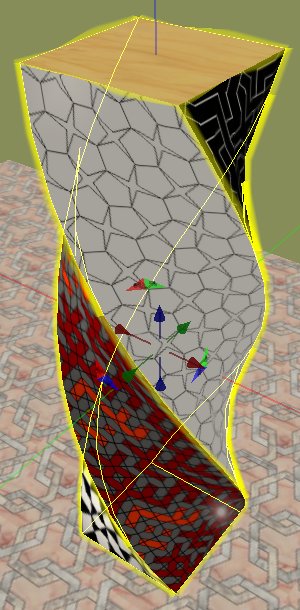
A twisted object can be created using the input fields under “Twist Begin and End”. The B and E fields each can have values from -180 to 180. These are degrees. The B field begin twisting at the bottom. The E field ends twisting at the top. (a circle is 360°. A positive twist is counter-clockwise, looked from above.)
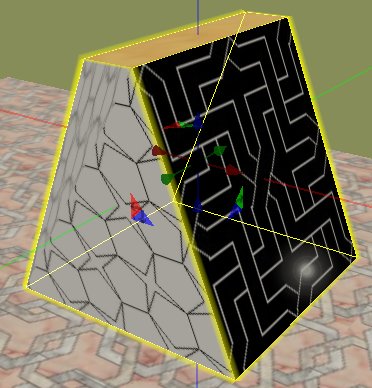
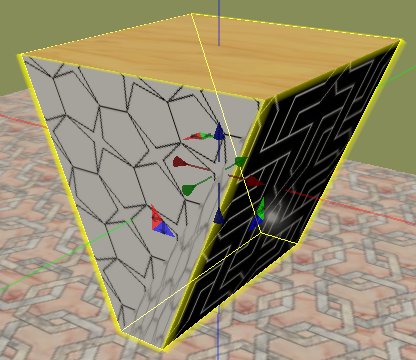
Taper
A prim can be tapered. The range for the X field is -1 to 1. When positive, it shrinks the width of the object in the x-direction, at the top. When X=1, the top will have width 0, like a triangle. When the value is negative, it tapers the bottom instead. The Y input field controls tapering in the Y-axes direction.
Top Shear
A slanted shape can be made by shearing a prim. (shearing changes the shape so that the higher it is, the more shifted it is) The range for the shear fields are -0.5 to 0.5.